
Milton Course
Championship
| Tee | Par | Yardage | Rating | Slope |
|---|---|---|---|---|
| Black | 36 | 3478 | 36.4 | 140 |
Back
| Tee | Par | Yardage | Rating | Slope |
|---|---|---|---|---|
| Blue | 36 | 3216 | 35.4 | 133 |
Middle
| Tee | Par | Yardage | Rating | Slope |
|---|---|---|---|---|
| White (M) | 36 | 2893 | 34.8 | 135 |
Forward
| Tee | Par | Yardage | Rating | Slope |
|---|---|---|---|---|
| White (W) | 36 | 2893 | 37.5 | 134 |
| Red | 36 | 2893 | 36 | 119 |

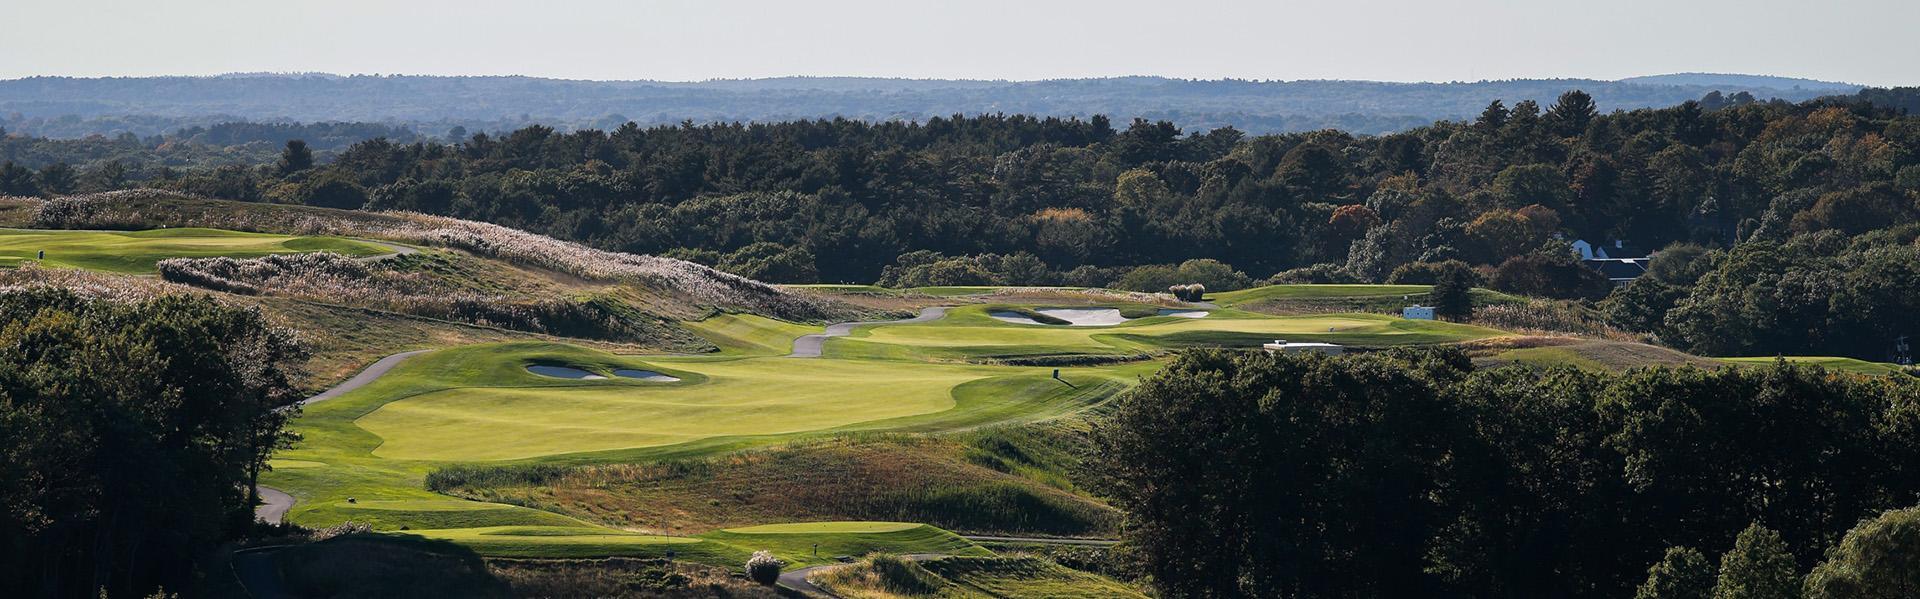
Hole 1: Milton 1
Hole Overview
A long Par 4 to start the back nine. Aim your tee shot at the bunker on the far side of the fairway. Avoid the right side of this hole at all costs! The 2nd shot is still long but you can run the ball up and onto this green.
Championship
| Tee | Par | Yardage | Handicap |
|---|---|---|---|
| Black | 4 | 483 | 1 |
Back
| Tee | Par | Yardage | Handicap |
|---|---|---|---|
| Blue | 4 | 454 | 1 |
Middle
| Tee | Par | Yardage | Handicap |
|---|---|---|---|
| White (M) | 4 | 415 | 1 |
Forward
| Tee | Par | Yardage | Handicap |
|---|---|---|---|
| White (W) | 4 | 415 | 1 |
| Red | 4 | 399 | 1 |
Hole 2: Milton 2
Hole Overview
A straight Par 3, just avoid the bunker!
Championship
| Tee | Par | Yardage | Handicap |
|---|---|---|---|
| Black | 3 | 179 | 8 |
Back
| Tee | Par | Yardage | Handicap |
|---|---|---|---|
| Blue | 3 | 171 | 8 |
Middle
| Tee | Par | Yardage | Handicap |
|---|---|---|---|
| White (M) | 3 | 150 | 8 |
Forward
| Tee | Par | Yardage | Handicap |
|---|---|---|---|
| White (W) | 3 | 150 | 8 |
| Red | 3 | 116 | 8 |
Hole 3: Milton 3
Hole Overview
Your tee shot on this hole must be to the right of the bunker but not so far right that it goes over the edge on the right side. Any tee shot over the bunker or left of it will find the fescue rough. Your second shot is over a pond to the green. There is fairway to the left of the pond if you need to play it safe.
Championship
| Tee | Par | Yardage | Handicap |
|---|---|---|---|
| Black | 4 | 457 | 2 |
Back
| Tee | Par | Yardage | Handicap |
|---|---|---|---|
| Blue | 4 | 411 | 2 |
Middle
| Tee | Par | Yardage | Handicap |
|---|---|---|---|
| White (M) | 4 | 380 | 2 |
Forward
| Tee | Par | Yardage | Handicap |
|---|---|---|---|
| White (W) | 4 | 380 | 2 |
| Red | 4 | 365 | 2 |
Hole 4: Milton 4
Hole Overview
A par 5 with spectacular views of the Blue Hills. Keep your tee shot down the left center of the fairway. The second shot can be hit with any club, the further the better. The third shot plays uphill and 1 extra club may be needed.
Championship
| Tee | Par | Yardage | Handicap |
|---|---|---|---|
| Black | 5 | 514 | 4 |
Back
| Tee | Par | Yardage | Handicap |
|---|---|---|---|
| Blue | 5 | 486 | 4 |
Middle
| Tee | Par | Yardage | Handicap |
|---|---|---|---|
| White (M) | 5 | 425 | 4 |
Forward
| Tee | Par | Yardage | Handicap |
|---|---|---|---|
| White (W) | 5 | 425 | 4 |
| Red | 5 | 405 | 4 |
Hole 5: Milton 5
Hole Overview
After turning the corner you will be hit with a great view of downtown Boston. Aim your tee shot between the John Hancock and Prudential towers for your approach. When hitting to this green there is more room short and to the right than there is long or left. A great birdie hole if you can stop long enough from looking at the view.
Championship
| Tee | Par | Yardage | Handicap |
|---|---|---|---|
| Black | 4 | 387 | 5 |
Back
| Tee | Par | Yardage | Handicap |
|---|---|---|---|
| Blue | 4 | 364 | 5 |
Middle
| Tee | Par | Yardage | Handicap |
|---|---|---|---|
| White (M) | 4 | 341 | 5 |
Forward
| Tee | Par | Yardage | Handicap |
|---|---|---|---|
| White (W) | 4 | 341 | 5 |
| Red | 4 | 324 | 5 |
Hole 6: Milton 6
Hole Overview
This par 3 requires a long and accurate shot. There is fescue to the right and a hill to the left. After hitting a good shot the fun begins on this 3 tiered green. While standing on this tee you should glance to your left at the 16th hole.
Championship
| Tee | Par | Yardage | Handicap |
|---|---|---|---|
| Black | 3 | 219 | 6 |
Back
| Tee | Par | Yardage | Handicap |
|---|---|---|---|
| Blue | 3 | 188 | 6 |
Middle
| Tee | Par | Yardage | Handicap |
|---|---|---|---|
| White (M) | 3 | 159 | 6 |
Forward
| Tee | Par | Yardage | Handicap |
|---|---|---|---|
| White (W) | 3 | 159 | 6 |
| Red | 3 | 125 | 6 |
Hole 7: Milton 7
Hole Overview
A hole that requires a decision off the tee. You can use the fairway to the left or right of the bunkers or you can try to hit it over the middle bunker and onto the right half of the green. To carry the middle bunker is about 205 yards. The hole plays shorter from the tee due to its downhill nature. From the fairway the hole plays longer because it is now uphill. A fantastic hole which could give you a birdie or par.
Championship
| Tee | Par | Yardage | Handicap |
|---|---|---|---|
| Black | 4 | 364 | 9 |
Back
| Tee | Par | Yardage | Handicap |
|---|---|---|---|
| Blue | 4 | 323 | 9 |
Middle
| Tee | Par | Yardage | Handicap |
|---|---|---|---|
| White (M) | 4 | 276 | 9 |
Forward
| Tee | Par | Yardage | Handicap |
|---|---|---|---|
| White (W) | 4 | 276 | 9 |
| Red | 4 | 245 | 9 |
Hole 8: Milton 8
Hole Overview
Aim your tee shot over the left bunker towards the rocks up on the hill. This will leave you 125 yards or less to the green. A missed tee shot to the right will end up in the bunker. You may hit to any part of this green except the right, a missed shot to the right may fall down into the marsh.
Championship
| Tee | Par | Yardage | Handicap |
|---|---|---|---|
| Black | 4 | 354 | 7 |
Back
| Tee | Par | Yardage | Handicap |
|---|---|---|---|
| Blue | 4 | 335 | 7 |
Middle
| Tee | Par | Yardage | Handicap |
|---|---|---|---|
| White (M) | 4 | 305 | 7 |
Forward
| Tee | Par | Yardage | Handicap |
|---|---|---|---|
| White (W) | 4 | 305 | 7 |
| Red | 4 | 250 | 7 |
Hole 9: Milton 9
Hole Overview
A straight uphill finishing hole. Hit your tee shot towards the bunkers on the right. The bunkers in front of the green start at about 70 yards out and go right up to the green side. Take at least 1 extra club on this great finishing hole.
Championship
| Tee | Par | Yardage | Handicap |
|---|---|---|---|
| Black | 5 | 521 | 3 |
Back
| Tee | Par | Yardage | Handicap |
|---|---|---|---|
| Blue | 5 | 484 | 3 |
Middle
| Tee | Par | Yardage | Handicap |
|---|---|---|---|
| White (M) | 5 | 442 | 3 |
Forward
| Tee | Par | Yardage | Handicap |
|---|---|---|---|
| White (W) | 5 | 442 | 3 |
| Red | 5 | 400 | 3 |
